|
Account Maintenance: Bulk Data Import
Contract Insight Enterprise offers the ability to bulk import data from a structured CSV file. CSV files contain structured data and can be opened with standard spreadsheet programs such as MS Excel. Typically, the bulk importing of data must be performed by an application administrator.
Notes:
It is recommended records are imported via the Data Import Manager Tool rather than the Bulk Data Import Manager as this tool is outdated and considered Legacy.
It is strongly recommended to review the “Configuration Guidelines” available in the User Manual. Many of the system’s data areas/tables are hierarchically related to other system data areas/tables.
For example, if data is bulk imported to the Employee List, the Department ID relating to the Employee’s department (that is being imported) should be in the proper Department column of the CSV file and NOTE the text description of the Employee’s Department. For these purposes, it is recommended that data imported into the system should be reviewed by a knowledgeable application administrator and follows a sequence specified in the “Configuration Guidelines” available in the User Manual. It is recommended to have an Application Administrator perform these imports.
In the CSV Template, Protected words (or words that will not) import through the Bulk Importer and should be excluded from being entered into the CSV template: drop, delete, truncate, insert, update, and alter. Any words that are or contain the above protected words should be entered into Contract Insight manually.
Important: The bulk importing of data will add only to the current specified table data list and will not update the existing items in the specified table data list. The bulk data import function will not replace duplicate/matching entries in the selected data area/table. If you upload/import a specific entry more than once, the selected data area/table will contain duplicate entries. If you enter duplicate entries in the .csv template file and then click Process Data Upload. The selected data area/table will contain duplicate entries.
1. Log into the application as an application administrator user (Sys. Admin)
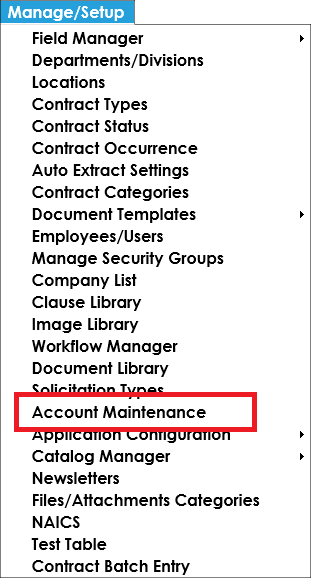
2. Next, select Account Maintenance located under the Manage/Setup menu.
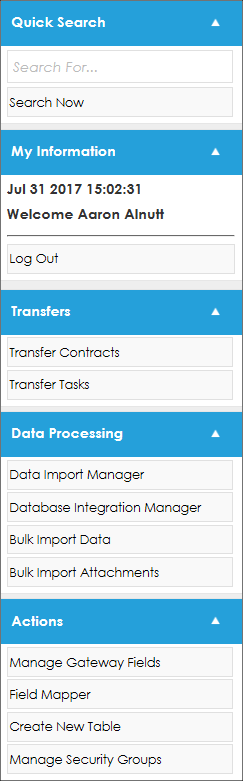
3. Click Bulk Import Data.
4. The Import Data screen will then open.
5. Note the Tips When Importing box on the side menu, which will aid in avoiding unwanted errors when performing the upload.
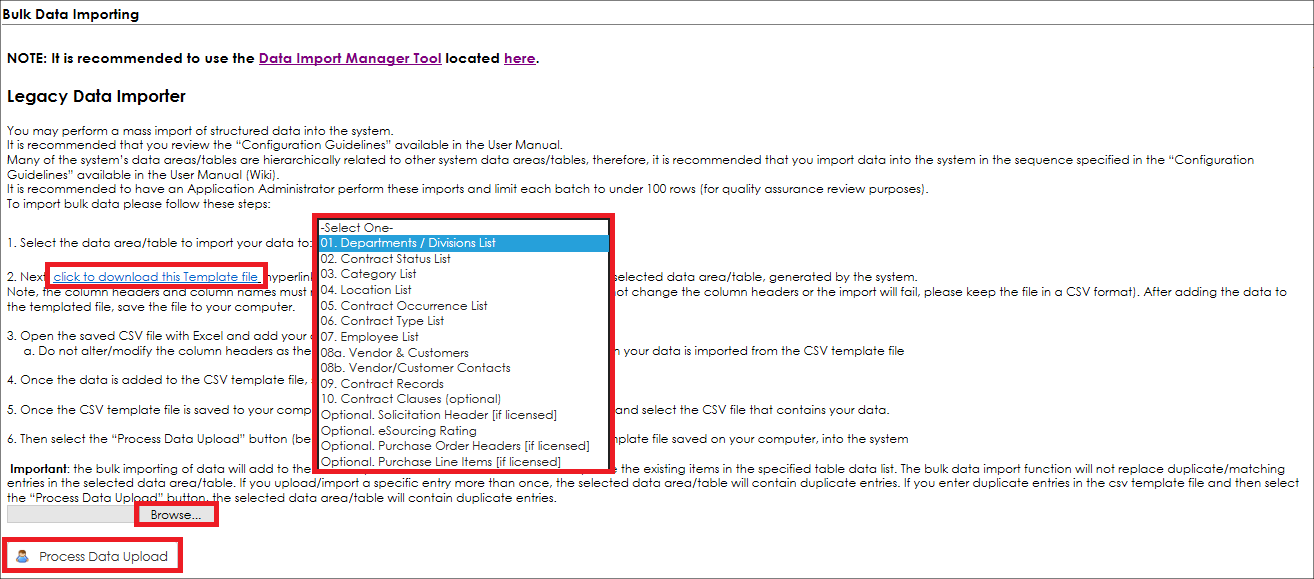
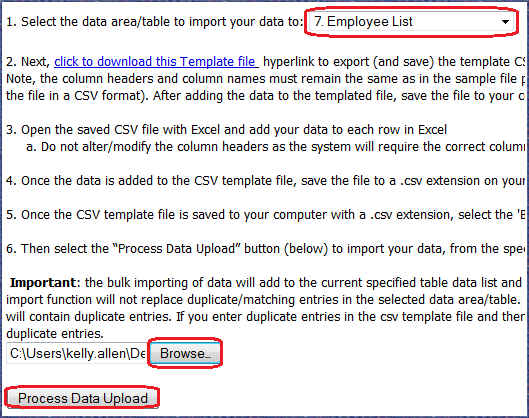
5. Select the data area/table drop down menu, the table to which to Bulk Import.
6. Upon selecting a table, additional instructions will open that should be read and followed carefully; the following should be noted:
- Be sure to perform the Bulk Import in the order in which the tables are displayed numerically.
- A link to download the most current template to be used for the Bulk Import
- After reading all provided instructions and the template has been populated and saved as a .CSV file, click Choose File to search for and select the .CSV template.
- Click Process Data Upload to begin the Bulk Import.
To Download and Populate the CSV Template
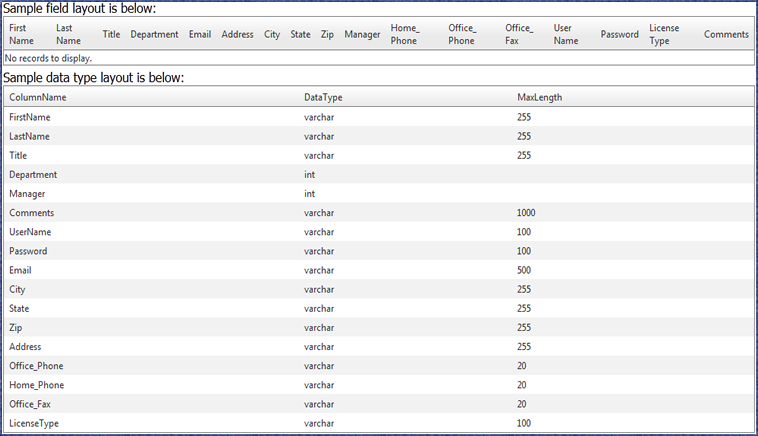
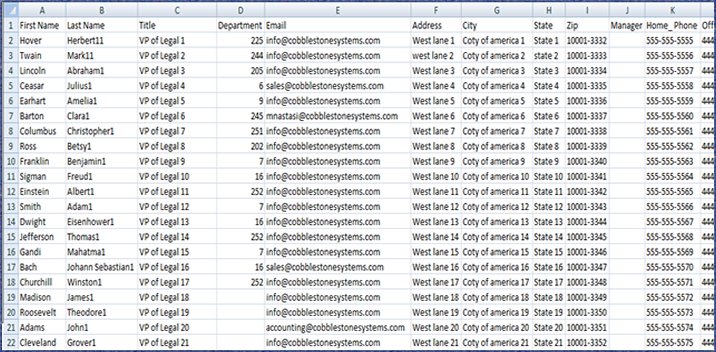
Before populating the downloaded template, scroll to the bottom of the screen to view the composition of the associated template. Notice that the screen-shot below contains the names of the fields as well as their associated characteristics/attributes. This information will be extremely useful for the purpose of understanding what kind of data is expected in each of the fields/columns.
1. Click click to download this Template file to download the selected template file and save it as a .CSV file to a location on your computer (remember this location).
Notes:
Do not alter/modify the column headers as the system will require the correct column headers when your data is imported from the .CSV template file.
Keep the file in a .CSV format to ensure the import will execute successfully.
2. Locate and open the saved CSV file with Microsoft Excel (or equivalent) and add your data to each row needed.
Note: The Department Column denotes the Department ID field if it's DataType is INT (integer), not the text name of the department.
3. Once the data is populated into the CSV template file, save the file to your local computer (remember this file location).
4. Once the CSV template file is saved locally, click Browse on the Bulk Importer screen and select the CSV file that contains the data. Click Process Data Upload to import the data from the specified, locally-saved CSV template into the application.
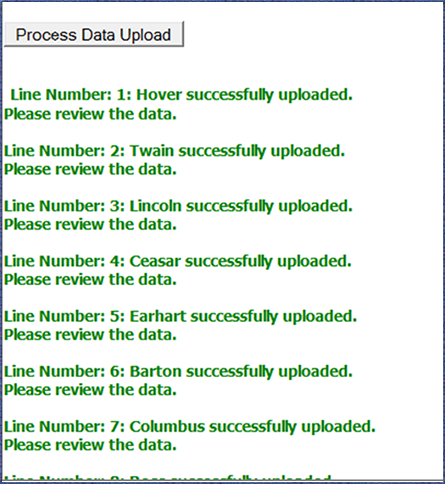
5. Once the correct CSV is uploaded and processed via Process Data Upload, the results of each row imported will appear below the Process Data Upload button. Successfully imported rows will be in green; rows that failed to import will be red.
|