|
Alerts & Notifications: Create/Edit/Delete
To access Notification Templates, click Manage/Setup, Notification Templates, then Create Notification Template to begin the creation process, or click Notification Template List to view all existing Notification Templates.

Overview – Create
Upon clicking Create Notification Template, the following image displays:
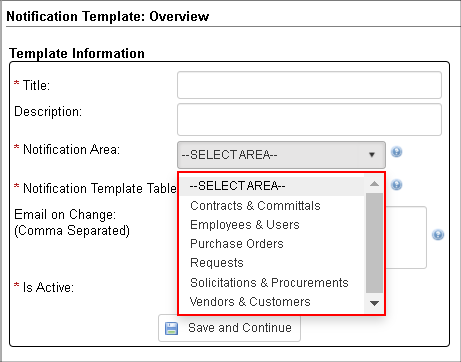
When users are brought to this screen, they will be prompted to select a Notification Area (also pictured above). Once a Notification Area is selected, the user will select any table associated with the selected area.
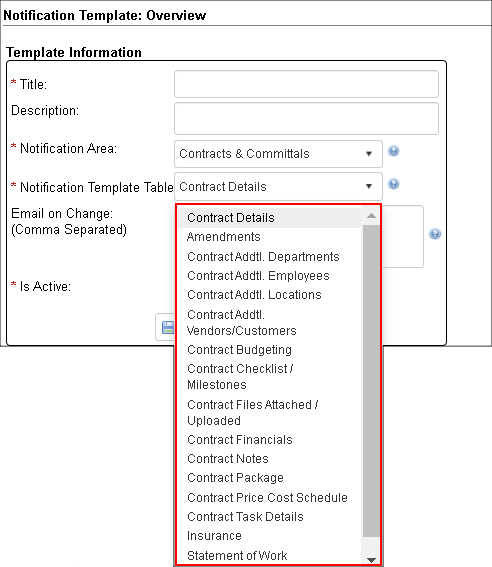
After this, the user will be prompted to begin selecting the fields in which they would like to use on their template(s).
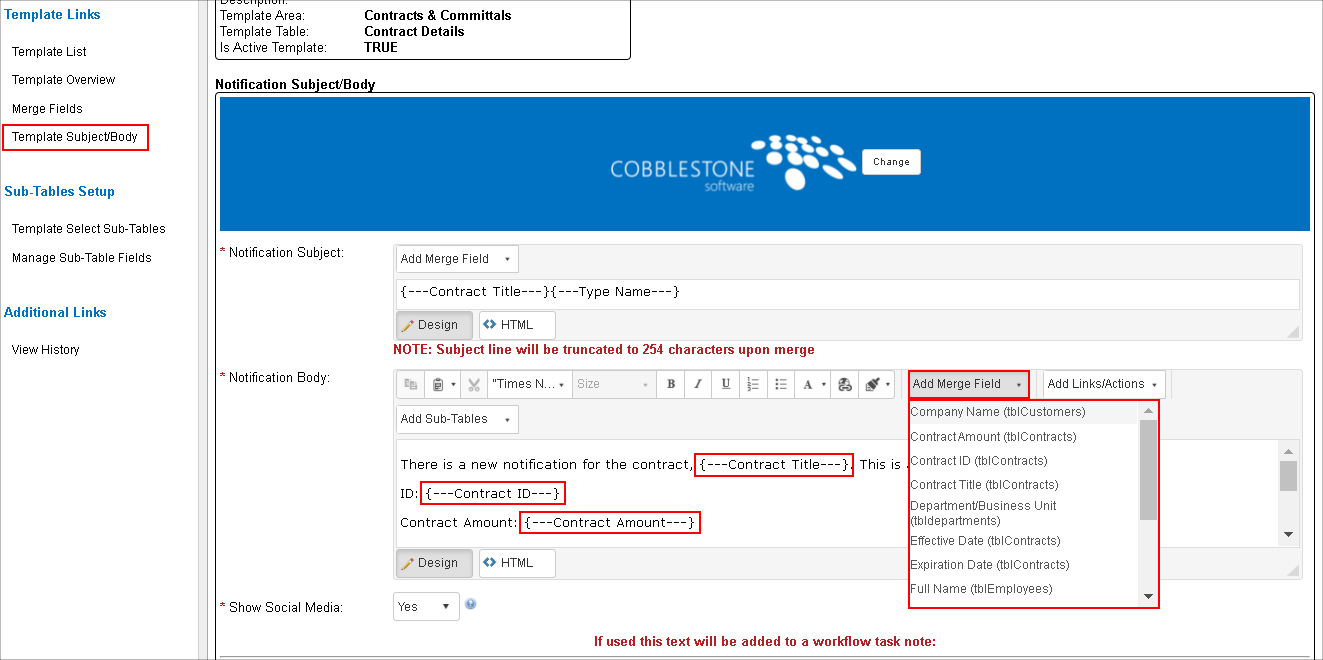
After this, system admins may use the fields selected in the Template Subject/Body. In this scenario, the task template that is sent out is not that of the generic workflow but is instead set up to the admin’s specific needs.
Sub-Tables
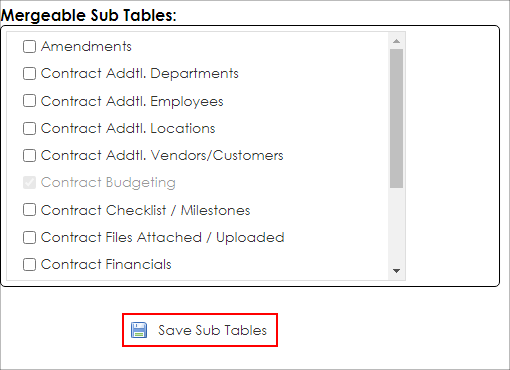
To add sub-tables to a notification, you will need to select the ones in which need to be merged (similarly to how the user selects fields to merge in a notification). To do this, click the Templates Select Sub-Tables link from the left navigation menu. The user will be taken to the Mergeable Sub-Table page showing all the sub-tables that can be merged. When all desired sub-tables have been selected, click Save Sub Tables.
When the user selects sub-tables, they will then need to select which fields will be used in the sub-table upon being merged. To get here, click Manage Sub-Table Fields to get to the sub-table field selection page. Here, the user may pick which fields are merged when the sub-table is created along with any rules for what sub-table data is merged.
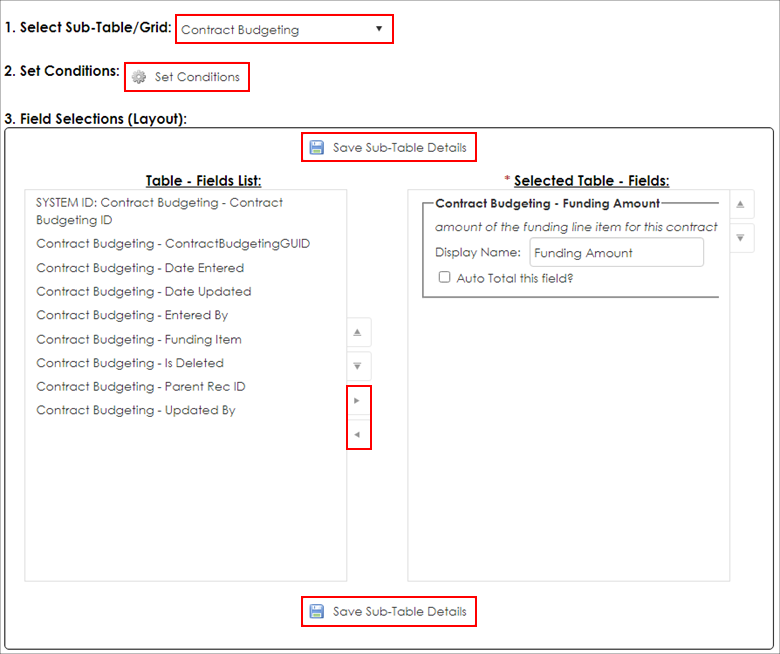
1. Select Sub-Table/Grid
2. Optionally, the user may set conditions as to when this sub-table will merge.
3. Select/Deselect fields using the arrow buttons. Users may change the display name of the field, as well as auto total the field.
4. Upon completion, click Save Sub-Table Details. This will add the sub-table to the list of sub-tables that may be merged on the notification subject/body page and/or task note section.
NOTE: If a sub-table is selected but no fields are selected to display, this may not be able to be used on the notification subject/body page and/or the task note section. The system will display the following message, alerting the user.
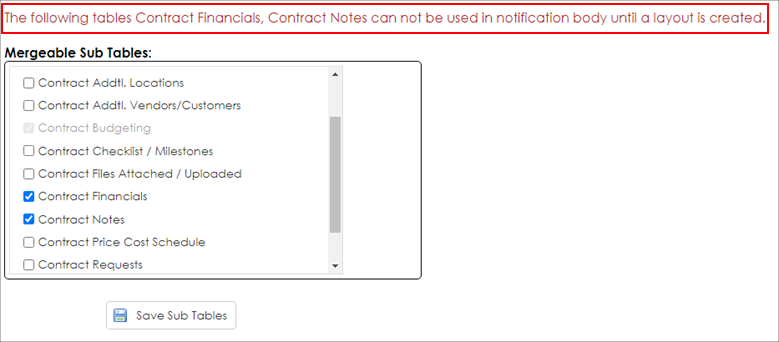
If sub-tables are added but do not have any field selected in the Manage Sub-Table Fields area, they can not be used in the notification body until fields are selected and layout is created.
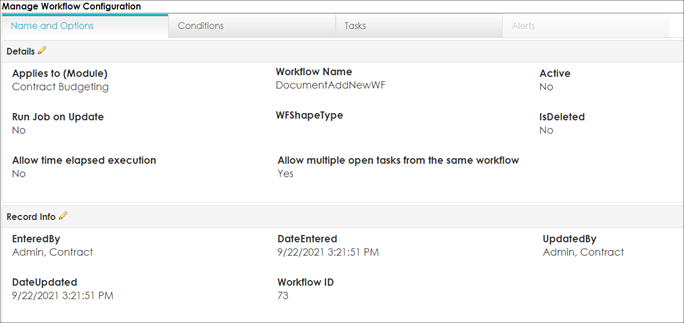
Attaching a Notification Template To a Workflow Task
1. Navigate to the desired workflow in which the user would like to attach a notification template.
2. Click the Tasks ribbon.
3. Click the Pencil & Paper Icon to edit the task.
4. The task will now open. From here, click the dropdown under Notification Template

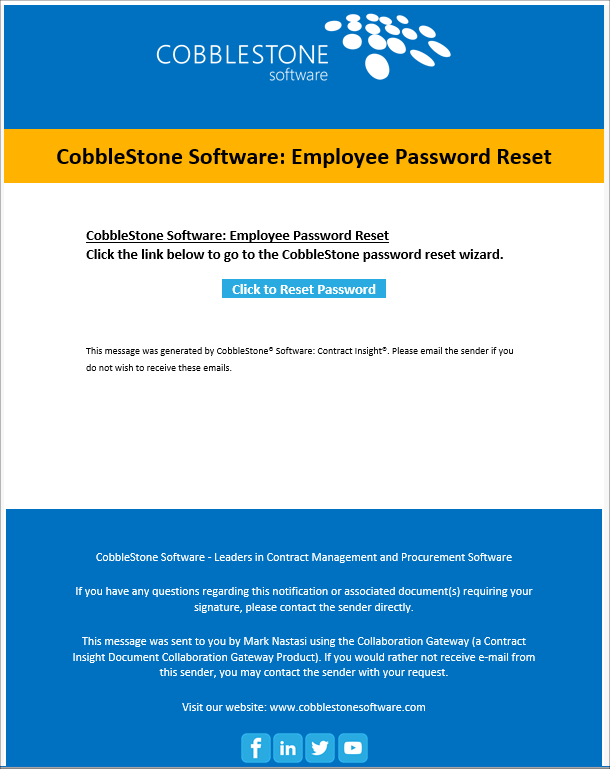
When everything is set, alerts will send out in the way in which the system administrator built them. Below is an example of a created Notification Template
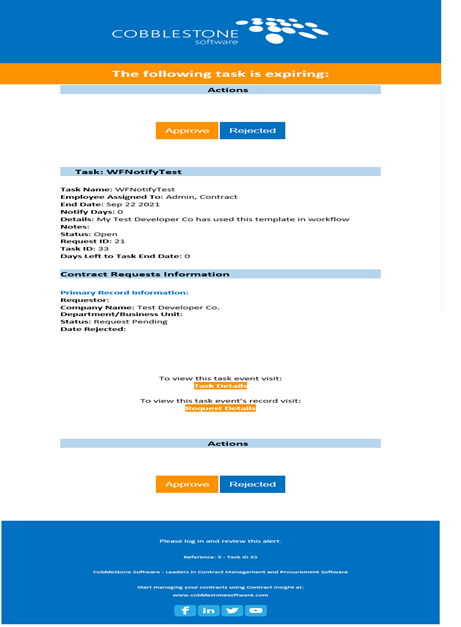
The following notifications use the following design:
- Employee Password Reset
- E-Sign reminders
- Report emails
- Contract Expiration Warning
- All other non-Task emails except One off and secure emails
Social Media Pages on Notification Templates
On the Template Subject/Body page, admins may choose to show social media. As of right now, ONLY CobbleStone's social media may appear.

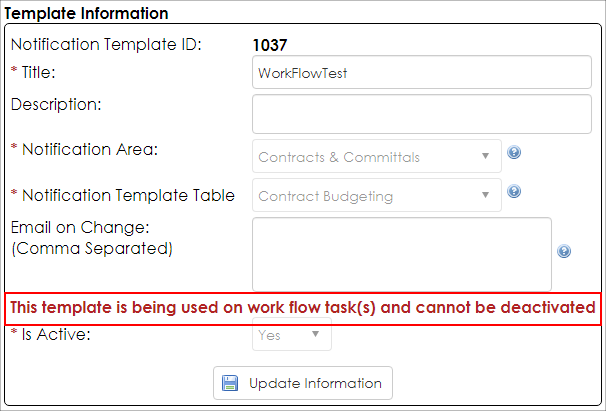
NOTE: If a Notification Template is being used on a workflow process, the template cannot be deleted.
Editing a Notification Template
1. Click Manage/Setup
2. Click Notification Templates
3. Click Notification Template List
4. Click Manage/Edit next to the Template that requires editing (pictured below)

5. Make the appropriate changes and click Save and Continue when finished.
Deleting a Notification Template
1. Click Manage/Setup
2. Click Notification Templates
3. Click Notification Template List
4. Click Delete next to the Template that requires deletion (pictured below)

|